Table of Contents
- 1. Introduction
- 2. Focusrite Scarlett
- 3. Audio Interfaces and Linux
- 4. Focusrite Scarlett on Linux
- 5. Mainline Linux Compatibility
- 6. Intalling alsa-scarlett-gui on Fedora
- 7. Installing alsa-scarlett-gui on Debian-based distributions
- 8. Troublehsooting
- 9. Summary

Introduction
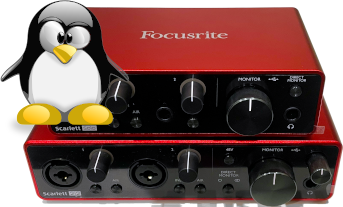
If you’re into music creation, chances are you’ve heard of Focusrite Scarletts—they’re practically a staple in the industry. But here’s the kicker: while they’re adored by many, official support from Focusrite is limited to Windows and Mac users. Thankfully, the Open Source Community has stepped up to the plate! Thanks to the efforts of Geoffry Bennet and others, compatibility with Linux systems is now a reality, complete with a sleek GUI to control every aspect of your Focusrite Scarlett for everyday use. In this article, I’ll walk you through the steps needed to configure your Focusrite Scarlett on your Linux system, so you can seamlessly integrate it into your audio setup and unlock its full potential. Let’s dive in! 🚀🚀🚀
Focusrite Scarlett
The Scarlett series are audio interfaces designed and manufactured by Focusrite, a company renowned for its audio equipment. The Scarlett series is popular among musicians, producers, and audio engineers for its high-quality audio recording and playback capabilities. Audio interfaces act as interface between your instruments, microphones, or other audio sources and your computer, allowing you to record and playback audio. Most audio interfaces feature microphone preamps, instrument inputs, line inputs, and outputs, as well as headphone outputs and various control knobs for adjusting levels and settings.

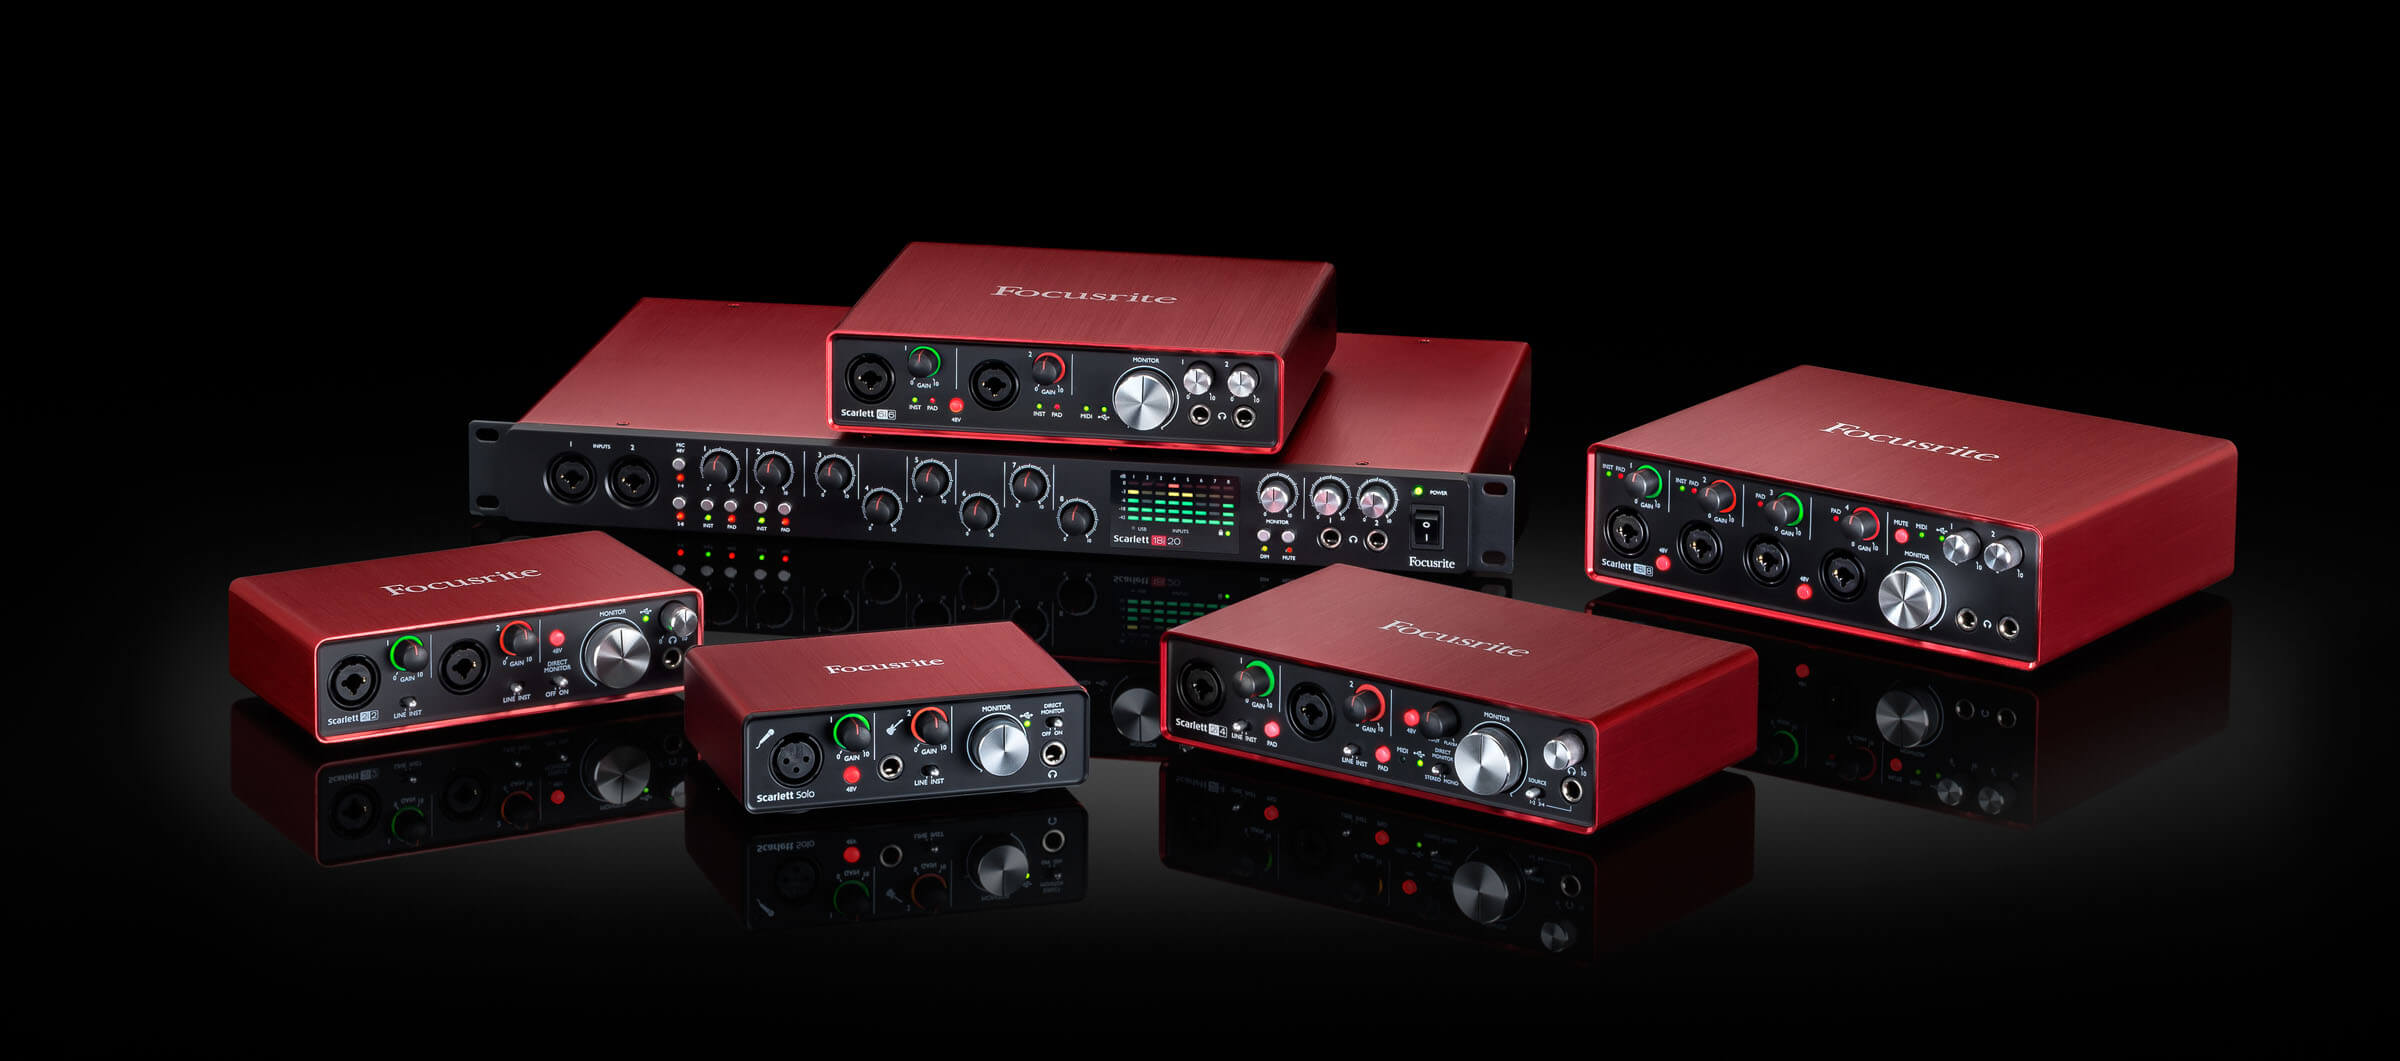
Focusrite Scarlett interfaces come in various models and sizes with different input and output configurations to suit different needs and budgets, ranging from compact two-input interfaces suitable for solo recording to larger models with multiple inputs and outputs for more complex recording setups. They connect to computers via USB and are officially supported on Mac and Windows operating systems.
Audio Interfaces and Linux
USB class-compliant audio interfaces are designed to work with standard USB audio drivers provided by most operating systems natively, without requiring additional drivers to be installed. Such audio interfaces adhere to USB Audio Class standards and ensures compatibility across different platforms. On the other hand, non-class-compliant audio interfaces usually require proprietary drivers provided by the manufacturer to function properly. These drivers are often designed specifically for Windows and/or macOS, and often times official Linux drivers do not exist - not even closed-source drivers. Consequently, using non-class-compliant audio interfaces with Linux can be problematic.
Focusrite Scarlett on Linux
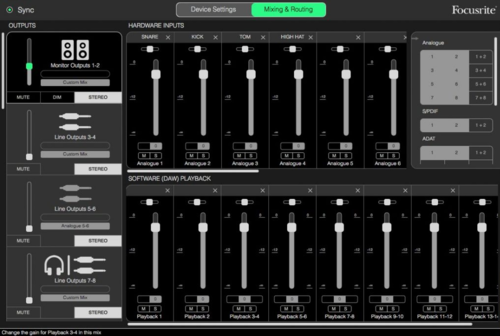
The good news is, most Scarlett devices are USB class-compliant. This means, that you can plug in the device, it’ll be detected automagically and you can use the most basic functions of it. The bad news is, that what you can use out-of-the-box maybe covers around 5% of the features of your Scarlett interface. Scarletts typically offer features that are not configurable through buttons and knobs on the hardware. These features are toggled/configured through Software running on a PC. This software is called Focusrite Control and - surprise - it is a propietary piece of software only available on Windows and Mac. To utilize the full potential of your Scarlett, you’re forced to use the Focusrite Control. Even though, you can get it running through wine with a little effort, there is a better solution. Native Linux support, here we go!

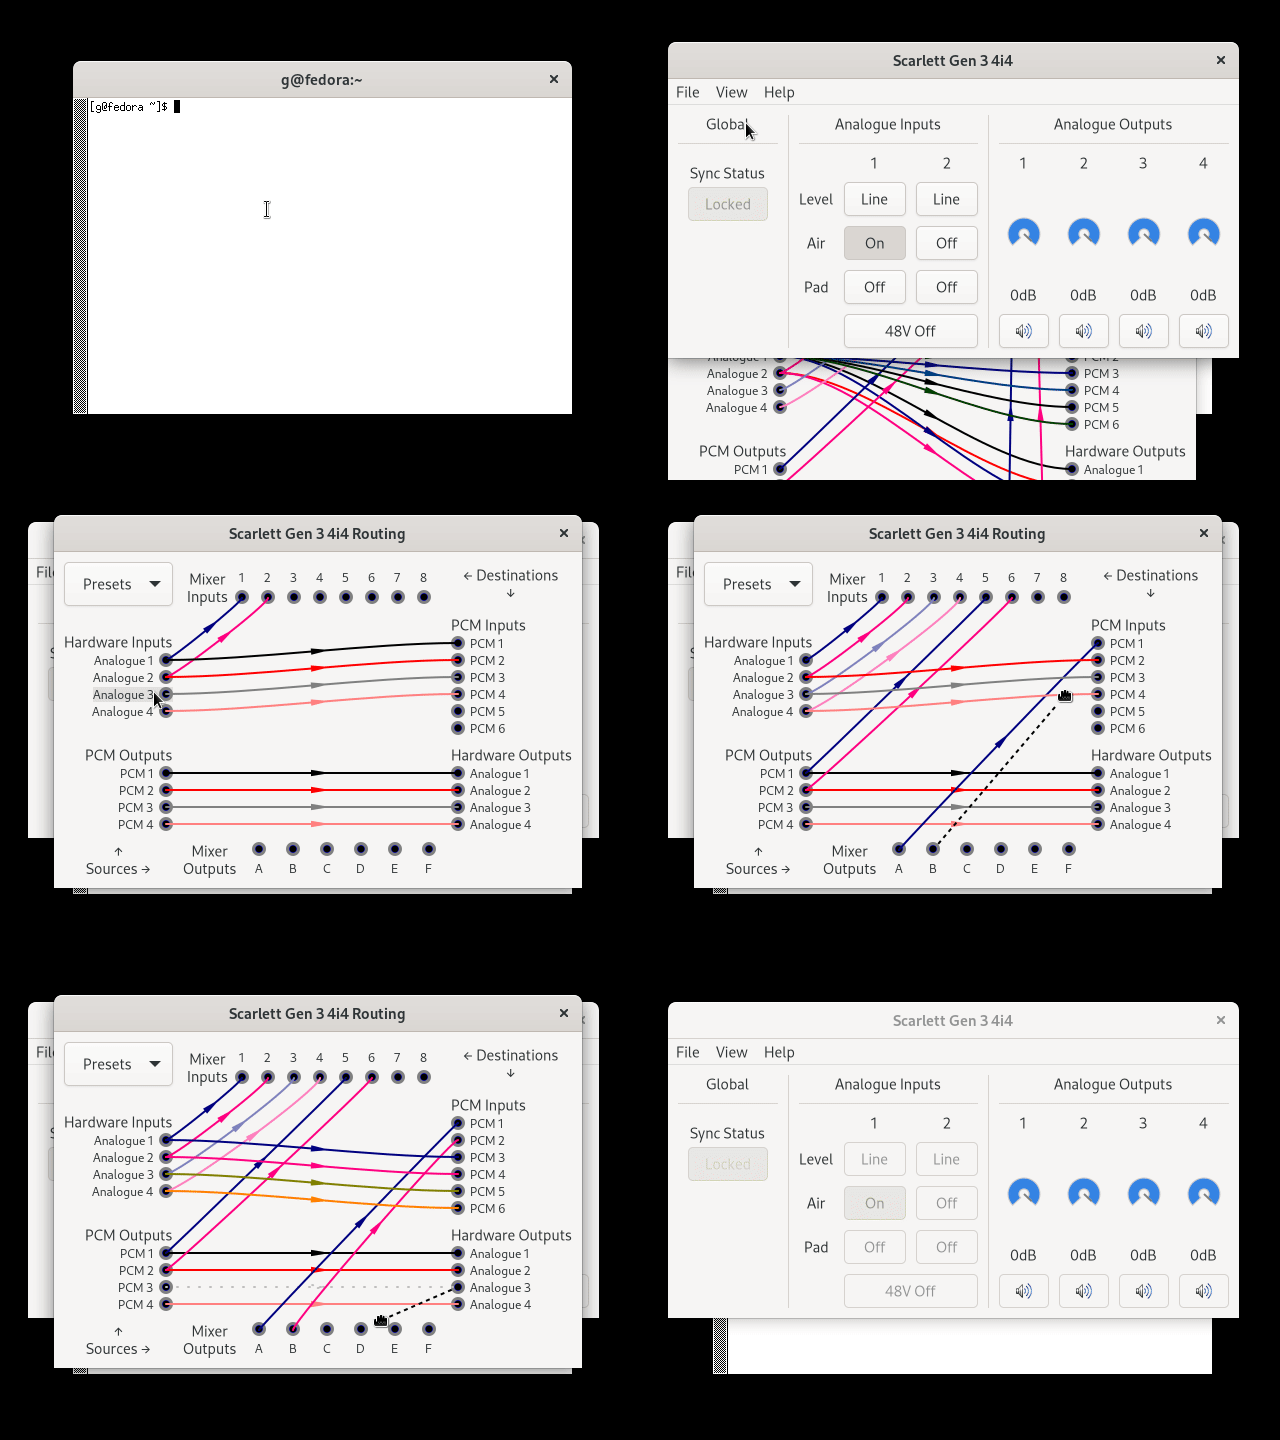
Geoffry D. Bennet reverse-engineered the protocol and implemented the device driver to get Scarlett devices to work smoothly on Linux. This driver is an extension to ALSA, specifically to the snd_usb_audio module. Currently Gen1, Gen2, Gen3 and Gen4 devices are supported natively in the mainline Linux kernel. All you have to do. is to plug in the device and configure your Scarlett from the userspace. Setting up Scarlett devices with basic tools like alsamixer and pavucontrol is usually straight-forward. Yet, for bigger models, more feature-rich models like the 18i20, with more input/output channels, settings and features like pad, air mode, and phantom power, it’s quite inconvenient to do it with said tools. That’s where Bennet’s alsa-scarlett-gui comes in handy. It’s a simple graphical interface that makes managing Scarlett devices a lot simpler. While it’s not included in all Linux distributions by default, you can easily get it from the repository. Bennet’s work made Scarletts more user-friendly and accessible, setting a new standard for how well audio hardware can work with Linux.

With the alsa-scarlett-gui you can adjust input/output levels, create custom routings, disable MSD mode (where your device mounts as USB flash drive), enable AIR mode for channels, activate phantom-power, trigger talkback, activating PAD mode, switching between mic/instrument input and all other features your audio interface has.
Mainline Linux Compatibility
- Scarlett Gen 2: Supported since Linux
5.4(bug fixes in Linux 5.14) - Scarlett Gen 3: Supported since Linux
5.14 - Clarett+ 8Pre: Supported since Linux
6.1 - Clarett 2Pre/4Pre/8Pre USB, Clarett+ 2Pre/4Pre: Supported since Linux
6.7 - Scarlett Gen 4: Supported since Linux
6.8
Note: From Linux 6.7 onwards, the driver is enabled by default and this is the first version where the level meters work.
Intalling alsa-scarlett-gui on Fedora
Currently alsa-scarlett-gui is not shipped in the official Fedora repositories. A reliable COPR sadly also does not exist (even though I’m considering providing one myself). So if you want to utilize alsa-scarlett-gui you will need to compile it from source. Don’t worry, it’s straight forward and you’re done with only 5 commands on your terminal.
# install dependencies and build-tools required to build alsa-scarlett-gui
sudo dnf -y install git gcc make alsa-lib-devel gtk4-devel

# clone the upstream repository
git clone https://github.com/geoffreybennett/alsa-scarlett-gui
cd alsa-scarlett-gui/src/

# build an executable
make -j4

# the executable can be found in the src/ dir, you can start it from here
./alsa-scarlett-gui
Installing alsa-scarlett-gui on Debian-based distributions
Installation on Debian-based distributions is equally straight forward. You just need some different dependencies before you can build alsa-scarlett-gui
sudo apt-get -y install git make gcc libgtk-4-dev libasound2-dev libssl-dev

# clone the upstream repository
git clone https://github.com/geoffreybennett/alsa-scarlett-gui
cd alsa-scarlett-gui/src/

# build an executable
make -j4

# the executable can be found in the src/ dir, you can start it from here
./alsa-scarlett-gui
That’s it, you’re set! In case your device does still does not work, the driver for your device is probably not yet enabled. Refer to the Troubleshoot section.
Troublehsooting
Gnome UI does not find the Scarlett Device (anymore)
The gnome UI enumerates all available devices with a configured sink profile through Pipewire. You can do this too with the wpctl commandline utility. In case your GNOME audio settings UI does not display your Scarlett as Input/Output device (anymore), chances are that the device is lacking the right profile. You can fix this utilizing wpctl.
# first identify the "device ID" of your Scarlett device
wpctl status

# in my case my scarlett has the Device Id 44 (it's the number left to the name of your device)
# now you can set a profile for that device (0 to disable)
# the command is: wpctl set-profile <your device id> <profile id>
wpctl set-profile 44 2

# if the profile with the id 2 is not bringing your device back in GNOME audio settings, try other profile ID between 1 and 4.
# Hint: profile 2 (Pro Audio) was working great for my 18i20
ALSA-scarlett-gui does not recognize my Scarlett
As the Scarlett is connected to your machine through USB, make sure the device is properly connected to your machine. Verify it with the lsusb command.
You should be able to spot your Focusrite Scarlett device in the resulting list. In case you don’t, chances are that the USB cable you were using is too long, or a not a data cable (e.g. just a power cable). My Scarlett interface even shipped with a power cable instead of a data cable. If you see the device in lsbusb, but the device is still not recognized, make sure you’re running a kernel with the required version (refer to Mainline Linux Compatibility section). You can get your kernel version by running uname -r.
The driver is not activated
when your Scarlett is plugged in, run dmesg | grep -i -A 5 -B 5 focusrite. You should see a similar output like the one below.
New USB device found, idVendor=1235, idProduct=8215, bcdDevice= 6.0b
Product: Scarlett 18i20 USB
Focusrite Scarlett Gen 3 Mixer Driver enabled (pid=0x8215); report
any issues to https://github.com/geoffreybennett/scarlett-gen2/issues
If you are not seeing something along the lines, his most likely means that the driver is not yet activated. Sometimes this happens even if you have a Kernel version higher than or equal to 6.7. You can load the module at runtime using insmod or modprobe with the device_setup=1 option. Simply create a file /etc/modprobe.d/scarlett.conf containing the appropriate line for your device and fire up insmod:
Scarlett Gen 2
- 6i6: options snd_usb_audio vid=0x1235 pid=0x8203 device_setup=1
- 18i8: options snd_usb_audio vid=0x1235 pid=0x8204 device_setup=1
- 18i20: options snd_usb_audio vid=0x1235 pid=0x8201 device_setup=1
Scarlett Gen 3
- Solo: options snd_usb_audio vid=0x1235 pid=0x8211 device_setup=1
- 2i2: options snd_usb_audio vid=0x1235 pid=0x8210 device_setup=1
- 4i4: options snd_usb_audio vid=0x1235 pid=0x8212 device_setup=1
- 8i6: options snd_usb_audio vid=0x1235 pid=0x8213 device_setup=1
- 18i8: options snd_usb_audio vid=0x1235 pid=0x8214 device_setup=1
- 18i20: options snd_usb_audio vid=0x1235 pid=0x8215 device_setup=1
Clarett+
- 8Pre: options snd_usb_audio vid=0x1235 pid=0x820c device_setup=1
Summary
Congratulations, you can now use your Scarlett device on your machine without restrictions and without running proprietary software. This would not be possible without the fantastic work of Geoffry. Words can not express how grateful I am for Geoffry and his valuable work! In case you have troubles installing/configuring your Scarlett device on your machine, feel free to reach out to me. I’d be happy to lend a helping hand.


Comments 💬